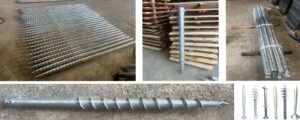
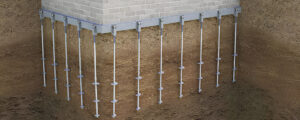
Installing a solar panel mounting system using screw piles is an effective way to secure your solar panels, especially in areas with poor soil conditions or high wind/snow loads. Screw Piles, also known as helical piles or earth anchors, are a type of deep foundation that can be easily screwed into the ground, providing a strong and stable base for your solar panel base installation. These piles are particularly beneficial in areas with poor soil conditions, such as sandy or rocky terrain, or in regions prone to high wind and snow loads. Here’s a step-by-step guide on how to install a piling solar panel mounting system.
Materials Needed:
- Screw piles (number depends on your system size)
- Solar panel mounting rails
- Mounting hardware (clamps, bolts, etc.)
- Pile driver or hydraulic driver
- Concrete (optional, for extra stability)
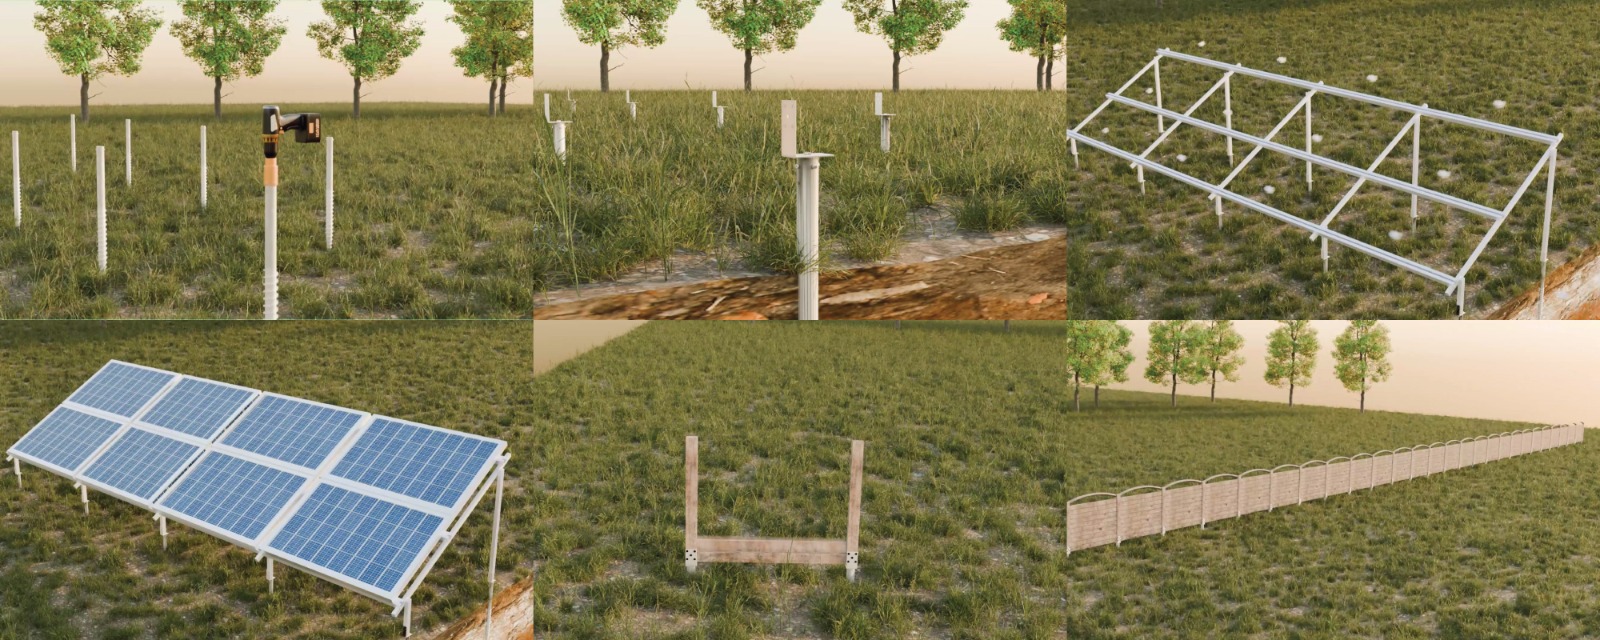
Step 1: Plan Your Layout Before installation, plan the layout of your solar panel array and determine the number of screw piles needed based on the manufacturer’s recommendations and local building codes. Consider factors like panel size, tilt angle, wind and snow loads, and site-specific conditions.
Step 2: Mark Pile Locations Using your layout plan, mark the locations where the screw piles will be installed. Ensure that the locations are clear of underground utilities by contacting your local utility companies for line locating services.
Step 3: Install Screw Piles Using a pile driver or hydraulic driver, install the screw piles at the marked locations. Rotate the piles into the ground until they reach the desired depth and torque, following the manufacturer’s instructions. The piles should be installed vertically and to the proper elevation to support the solar panel mounting system.
Step 4: Secure Mounting Rails Once the screw piles are in place, attach the solar panel mounting rails to the piles using the provided mounting hardware. Ensure that the rails are level and properly aligned, as this will affect the performance and aesthetics of your solar panel system.
Step 5: Install Solar Panels With the mounting rails securely attached to the screw piles, you can now install your solar panels. Follow the manufacturer’s instructions for attaching the panels to the rails using the appropriate clamps or mounting hardware.
Step 6: (Optional) Add Concrete Reinforcement For extra stability, especially in areas with high wind or seismic activity, you can consider adding concrete reinforcement around the screw piles. This involves pouring concrete around the piles and allowing it to cure, providing additional lateral support and resistance to uplift forces.
By following these steps, you can successfully install a piling solar panel mounting system, ensuring a secure and long-lasting foundation for your solar panels. Remember to always follow local building codes and manufacturer’s guidelines for a safe and efficient installation.
Maintenance and Inspections
After installation, it’s essential to conduct regular inspections and maintenance to ensure the continued stability and performance of your solar panel mounting system. Check for any signs of corrosion, loose hardware, or ground movement that may affect the piles’ integrity. Additionally, keep the area around the piles clear of vegetation or debris that could potentially damage or obstruct the system.
With proper installation and maintenance, a piling solar panel mounting system can provide a reliable and long-lasting solution for your solar energy needs, allowing you to harness the power of the sun while ensuring the safety and stability of your system.
Conclusion :
Installing a piling solar panel mounting system using screw piles is a reliable and efficient method for securing solar panels, especially in challenging soil conditions or regions with extreme weather. Installation of screw piles, and securing the mounting rails and solar panels, you can ensure a stable and durable foundation for your solar energy system. Optional concrete reinforcement can provide added stability in high wind or seismic areas. Regular maintenance and inspections are crucial to maintaining the system’s integrity and performance over time. By adhering to these guidelines and local building codes, you can successfully implement a reliable solar panel mounting system that maximizes the benefits of solar energy while ensuring the safety and longevity of your installation.
FAQ’S
It is a type of ground mount system where the solar panels are installed on posts/piles that are driven into the ground.
Main components include helical piles, pile driver, mounting rails/racks, and hardware to attach panels.
Piling mounts are suitable for areas with rocky/non-penetrable soil, high wind loads, or uneven terrain where ground screws/concrete footers are not feasible.
Typically 5-10 feet deep depending on soil conditions and local wind/snow loads.
With proper galvanized steel, should last 25+ years with little maintenance.


Leave a reply